I must preface this post with the statement that this was one of the most involved recipes I've ever attempted. It wasn't difficult, but there were SO many steps, it seemed really overwhelming at first.
The original recipe was taken from the Southern Living 2010 Christmas Cookbook, which--no matter what holiday you celebrate--is one of my favorite annual series because it features hundreds of pages of mouth-wateringly rich, decadent food porn. Dinner, dessert, soup, appetizers...it's the best. [/unpaid plug. They should hire me to provide advertising. Hear that, Southern Living? I expect a call any day.]
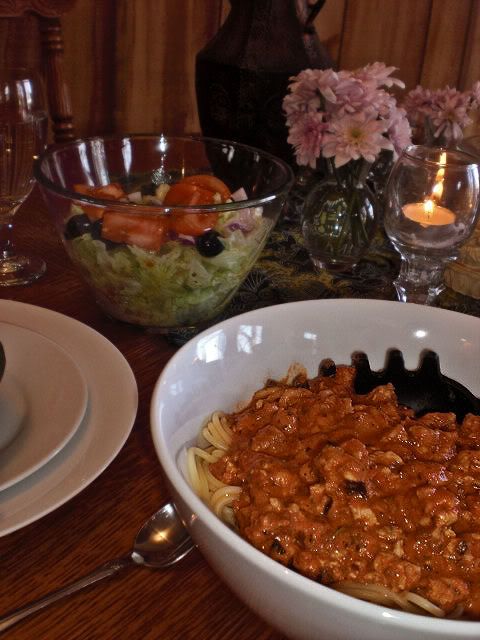
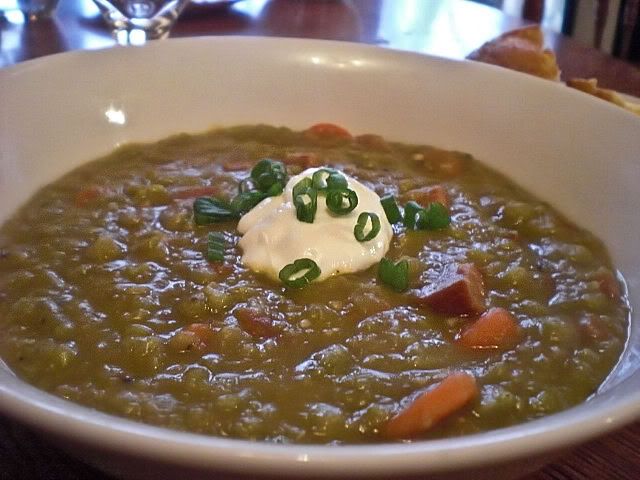
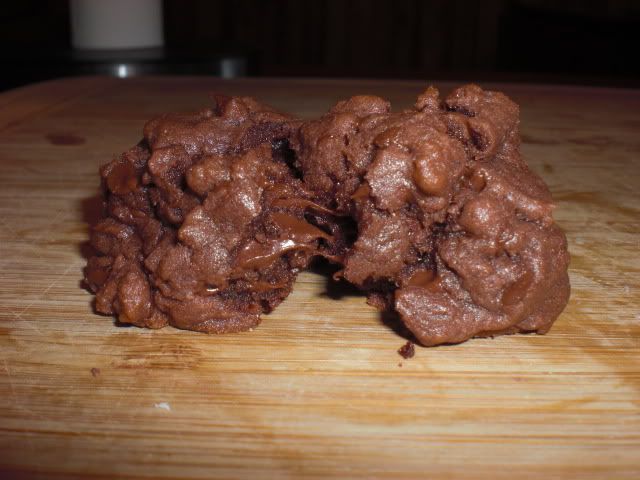
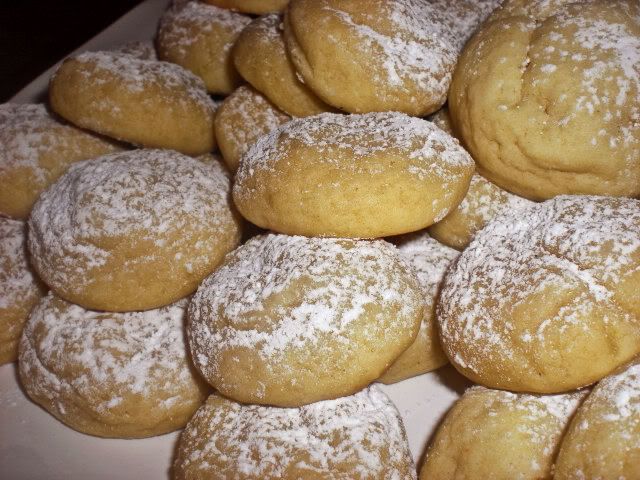
This is what it was supposed to look like. Personally, I think mine turned out prettier. Because I'm not biased AT ALL. ;P
 Charlotte
:
[Shar-luht]
-noun.
A dessert of many varieties, served hot or cold and commonly made by lining a mold with cake or bread and filling it with fruit, whipped cream, custard, or gelatin.
All the pretty photos were taken by the glorious Kara Pritchard, of
NoMoreNegatives. Because she's amazing. The crappy little "cooking process" ones are mine.

Make sure before you begin that you have:
- A pot reserved for a double boiler, and two heat-proof bowls to go on top.
- Two large mixing bowls
- Several smaller bowls
- A hand mixer
- A pastry brush
- A 9" springform
- A silicone spatula. I recommend silicone because you'll use it in many different textures and flavors in this recipe, and they wash clean very easily between bowls.
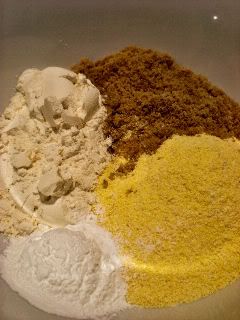
Ok, so onto the 'gredients.
[Just for the record, any comments or side notes I make will be in brackets. Like this.]
....[Also for the record, all ingredients used are certified kosher. Except for the mascarpone and the Knox gelatin I used. If you're keeping kosher and can't find kosher Mascarpone, you can use softened OUD cream cheese instead.]

2 Packages ladyfingers
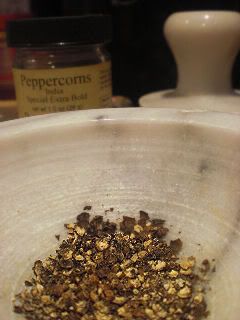
1 Tbsp instant coffee-flavored crystals. [I used Taster's Choice cappuccino flavored granules]
3/4C Hot water
1/2C Coffee liquor [I used coffee-flavored syrup instead. Kahlua would work, too]
6 Large eggs, separated
2 Envelopes unflavored gelatin [
KoJel is OU kosher gelatin--thanks Laura, for the tip!]
1/2C Cold water
1/2C Whipping cream, divided
12oz Mascarpone cheese
8oz High quality* dark chocolate morsels [I used Ghiradelli, as did the original recipe]
2 Tbsp butter
* [Yes, it does matter if it's high quality. Lower quality chocolate chips have additives in them to help maintain their shape. It won't melt as evenly, and can create a streaky ganache.]
Okay, so. You've got everything situated? Let's go.
Assemble your 9" springform and line the edges with the ladyfingers. No need to grease it, but you can if you want. Most ladyfingers are packaged in sheets, so it makes it easy--you won't need to tear them apart. Just arrange the sheets along the inside of the springform. Tear off whatever overlaps. (Neatly! And don't sample. You'll need all of them!)
Now, one sheet of ladyfingers should fit nicely across the bottom of the pan. Fill in the extra space with ladyfingers. I had to break mine into pieces to get a relatively solid bottom layer. Reserve the rest--you'll need them later.

Dissolve your instant espresso granules into the hot water. Add 1/4C of the coffee liquor (or whatever you're using). Using a pastry brush, brush the ladyfingers generously with the coffee. If you're using a silicone brush like I was, it's tricky because the coffee doesn't "cling" to the bristles. I just splatter-painted my ladyfingers and called it good. Set aside the rest of the coffee. Again, you'll need it later.

Put together your double boiler. In the top, whisk together the 6 egg whites and 3/4C sugar. This is how I separate eggs when I'll be eating them in a relatively raw state. I let the whites drip through my fingers and 'catch' the yolk without breaking it. That way, the egg doesn't have much contact with the shell, where salmonella can be carried, and so I don't have to worry about pesky bits of shell breaking off and getting lost. Ick.

Whisking often, cook the whites and sugar until it reaches 160 degrees F. Now... if you don't have a thermometer, don't fret. [I love the word fret.] The heating process is to 'pasteurize' the eggs and make them safe to eat. As a person who will happily eat a pound of raw cookie dough, I didn't worry too much. "Oh, it's really hot" worked well enough for me. Just make it hot. You'll be fine.
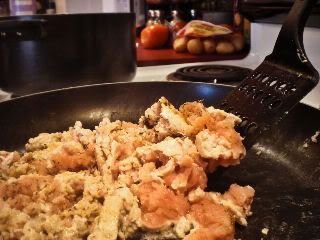
[Note: Don't 'cheat' and put them in the microwave or directly on the stovetop. You'll end up with really sweet scrambled eggs. Ew.]

Transfer the hot eggwhites to a large bowl, and with your handmixer, beat the hell out of them, until stiff peaks form. It'll take a while. Your arm will get tired. But just imagine if you were doing it by hand! (And if you don't have a mixer and ARE doing it by hand....well, then... I bet you have amazing arms.) Be careful not to overbeat too much, or the whites will "break" and lose their sheen.
This is what "stiff peaks" look like.

Congratulations, you are now the proud owner of a meringue. Set it aside.
In a medium saucepan, pour your 1/2C of cold water in there, and sprinkle both packets of unflavored gelatin on top to soften. I used Knox, but any unflavored gelatin will work. Let it sit for about a minute. You'll know it's done when it creates a translucent sludge on the bottom of your pan that doesn't move when you tilt it. Cool, eh? Now stir it up! It dissolves instantly! Ha, how neat is that?
 _
_
Okay, anyway, cook your gelatin over medium heat, stirring until gelatin dissolves. Add 1/4C whipping cream, stir, and set aside.

Back to the double boiler. Set another bowl into the top, and whisk together your 6 yolks, the remaining 1/2C sugar, and the remaining Kahlua (or whatever). Whisking often, cook until it reaches 160 degrees F. (Have we done this before? Hmm...)

Just a recap--this is what you should have going on right about now.
Meringue? Check.
Gelatin/cream mixture? Check.
Springform lined with ladyfingers? Check.
Yolk mixture in the double boiler? Check.

Okay, moving on.
Remove from heat and transfer yolk mixture to a large bowl, and--you guessed it--beat the devil out of it. It won't form stiff peaks like the meringue did, but it'll get nice and thick for you. About the consistency of pudding. Again, it'll take a while. Hope you have good music on.

To the thickened yolk 'pudding', add all of the mascarpone cheese, and all of the gelatin/cream mixture. Beat it til it behaves (or, you know, until it's smooth and creamy).
If you let this sit for a minute, it will get super thick and fluffy like mousse. Yum.
 _
_
Gradually fold in your meringue until well incorporated.

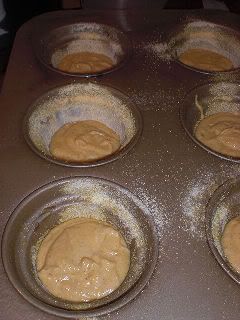
Spoon half the finished mixture into the bottom of your ladyfinger'ed springform. Smooth it out. Make it pretty. Top with the remaining ladyfingers, and brush them with the espresso.

In a heatsafe bowl, microwave half your chocolate morsels until melted. Do this carefully because it's very easy to scorch good chocolate. Try 30 seconds at a time, stirring between each round, until smooth. Add melted chocolate to the remaining mascarpone mixture and gently stir until well blended.

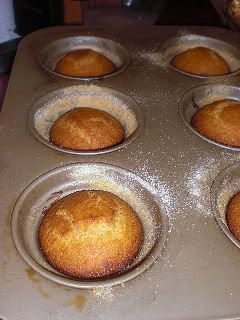
Spoon the chocolate mixture into the top of the springform, over the new layer of ladyfingers. Even it out, and chill until the top is slightly firm--about 15 minutes.

Meanwhile, in your heat-safe bowl, microwave the remaining 1/4 whipping cream and 2Tbsp butter until hot. A minute and a half perhaps. Add the rest of your chocolate morsels, and stir until well melted and smooth. This will be your ganache [gah-nosh].

Spoon ganache over the top of the chocolate mascarpone, making sure to spread it right to the edges. If you want to add anything pretty--swirls or whatever, this is the time to do it. Chill at least 8 hours or overnight.

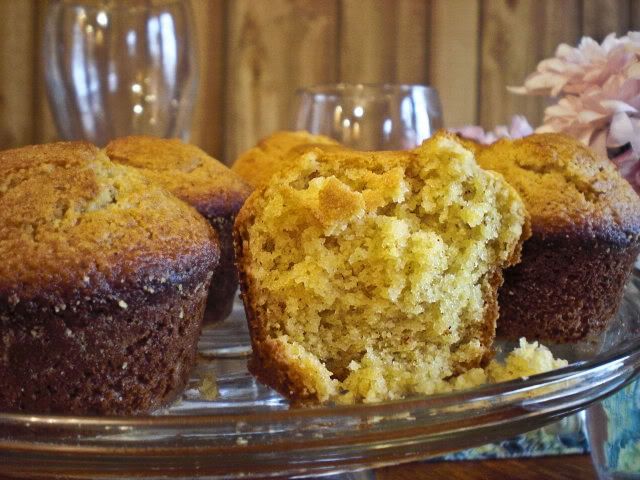
Enjoy, and happy eating!


Oh, and this is what my normally very clean kitchen looked like afterward. Scary!


 _
_
 _
_
 _
_

 _
_
 _
_ _
_
 _
_ _
_


 _
_
 _
_