
If there was ever a timeless dessert that embodied elegance and simplicity, it would have to be creme brulee. Now, that being said, why stop at simple when you can add some serious shazaam?
This white chocolate creme brulee is so full of awesome, it can barely contain itself. See it jumping for joy? No wait, that was me. I'm a big fan of awesome.
What you'll need:
Recipe is kosher dairy and vegetarian.
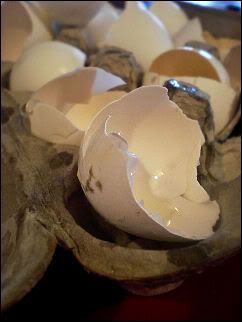
- 4 egg yolks
- 1/3 cup sugar
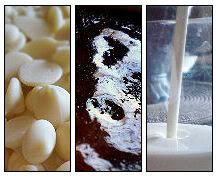
- 2 cups heavy cream
- 4 ounces white chocolate chips (I used Ghiradelli)
- 1/2 teaspoon vanilla
- Sugar to broil

Now what?
Preheat oven to 300 degrees F.
In a medium bowl, vigorously whisk together the yolks and 1/3 cup of sugar. It'll be thick and gooey at first, but give it a good beating, and it'll go all soft and creamy for you in no time. Set it aside.

Now measure out your cream and pour it into a saucepan. Bring it to a simmer over medium heat. You should start to be able to smell the cream as it heats. Make sure to whisk it as it heats to prevent a skin forming on the surface. If a skin forms, it's no big deal, just whisk it away. It traps steam and raises the temperature of the cream, which can cause the cream to scald or boil over. There's some scientific geeky stuff about cream's fat molecules binding to proteins and evaporating, which causes the skin formation, but this is a food blog, not a chemistry analysis.
So. Whisk.
When the cream is heated and steaming, turn off the heat and add your white chocolate and keep on whisking. You want it fully melted and smooth as Ricky Martin ice skating on two pats of butter.
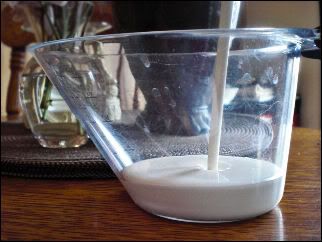
When the white chocolate creme is fully blended, it's time to temper it into your egg mixture. If you've never tempered cream into eggs, it's not complicated at all, but it is a necessary step. Basically, you just want to gradually stir small amounts of the hot cream into the egg mixture, while continuously whisking. This helps slowly raise the temperature of the egg, allowing the hot cream to blend smoothly without curdling or cooking the eggs.
Of course, you can always just watch this.
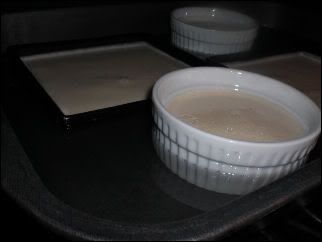
Now, once everything is partying happily together, it's time to pour your liquid custard into ramekins and bake.
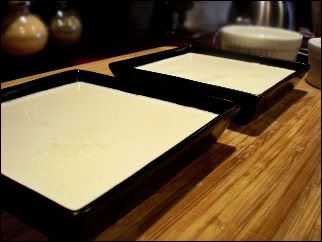
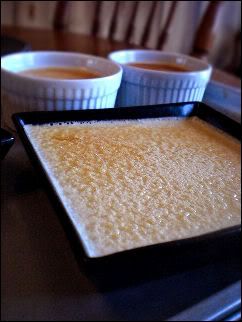
Because custard is fragile and delicate, using direct heat can cause it to bake unevenly. So we'll use a water bath. I simply used a 9x13 roasting pan. Place your ramekins in your pan and fill with hot water until the water reaches halfway up the sides of the ramekins. Cover very loosely with foil. This will help keep the tops of the custards from browning too much as they bake. Gently place pan in preheated oven and bake about 20-25 minutes.
When the custards are done, they should be slightly wobbly in the center, but set around the edges, and slightly golden. Remove from the water bath and chill thoroughly. Mine were still a bit pudding-like after 3 hours. It took about 5 hours for them to fully set into a lovely, thick custard.
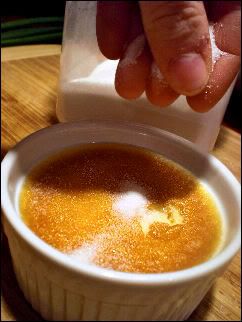
When custards are fully chilled and set, and you're ready to serve, sprinkle the tops of each custard with a couple teaspoons of sugar. Sprinkle in a light, even layer.
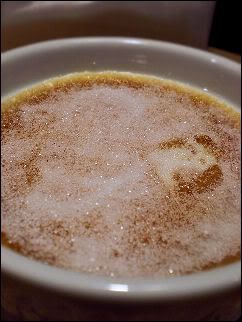
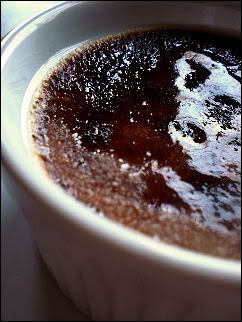
If you have a culinary torch, by all means, use it. If not, move your oven rack closer to the top, and set it to broil. Place your custards under the broiler and watch carefully. It'll take a few minutes for the sugar to begin to broil, but when it does, it can go super fast, from white to charcoal in a matter of 10 seconds. Be sure to watch it closely. When the tops are liquefied and deep caramel-colored, remove from broiler and return to fridge or freezer to re-chill for a few minutes before serving.
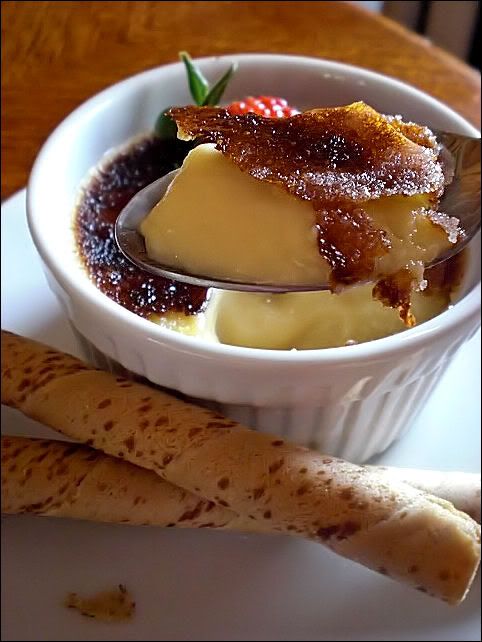
Garnish with something pretty--delicate cookies (I used vanilla Piroulines) , fresh berries, mint leaves, whipped cream, whatever you like. Enjoy, and happy eating!
No comments:
Post a Comment
Send me a comment! I love to hear what you have to say!