
It's hard to write a blog post when your head feels like it weighs 20 pounds and your ears are waging a rather epic war against your throat. For someone who never gets sick (it's true--my immune system is one tough badass.) I'm a little embarrassed that this silly seasonal nonsense managed to knock me over so thoroughly. I may or may not be writing under the influence of cough syrup and rum, so... let's hope this post doesn't end with someone wearing a lampshade.
In other news, Mr. Happy Baker left this morning to go back to work in Texas. There were tears. Expect cupcakes in the near future. Cupcakes cure all that ails.
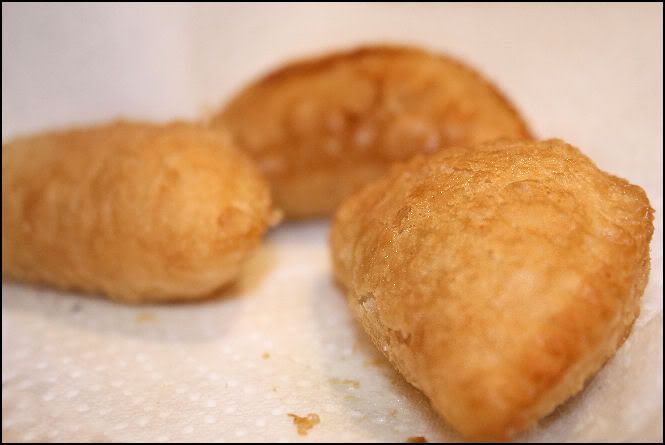
I know the photos in this pic are larger than normal, but I couldn't bear to reduce them too much, they came out so clear and pretty. I ♥ Canon.
Anyway, last week, I sold a batch of two dozen empanadas to a local gentleman who contacted me, looking for a not-overly-sweet dessert for a birthday party he was throwing. He asked for suggestions, and wondered aloud if cakeballs are any good. I told him that they were little bites of manna on a stick, but that they are basically just cake, frosting, and candy--this fat girl's happy place, really. Not exactly ideal for a "not too sweet" request.
So instead, I suggested empanadas. Little handheld pies, filled with whatever you like. We tossed around some filling candidates for a while and finally settled on half the pies being filled with marzipan cream (sugared, ground almonds), and the other half with spiced apple. The marzipan cream turned out totally delish, but the apples were more interesting, so I photographed those for the blog.
What you'll need:
Recipe is vegetarian, but not vegan. Most Pillsbury products are not certified kosher, and I forgot to check the packaging. You can always make your own crust. Vegan pie crust recipe here.
- 24 oz pie crust, rolled thin.
Since my rolling pin is crap, I used Pillsbury pre-rolled crust)
- 2 large, sweet apples, cored and peeled
- 4 tablespoons apple juice
- 1 teaspoon cinnamon
- 1 teaspoon apple pie spice
- generous pinch of sugar
- 1 egg, beaten
- oil for frying
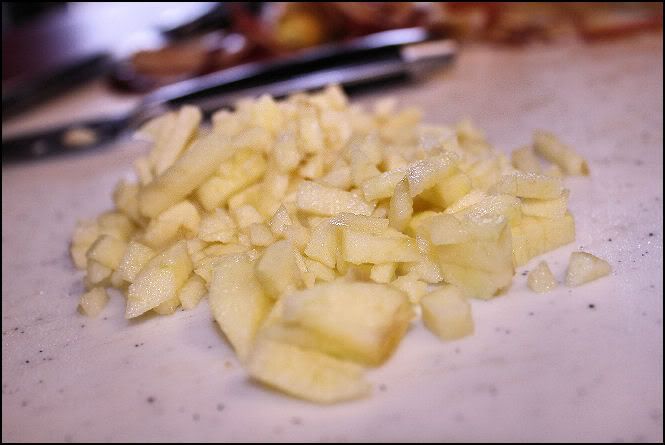
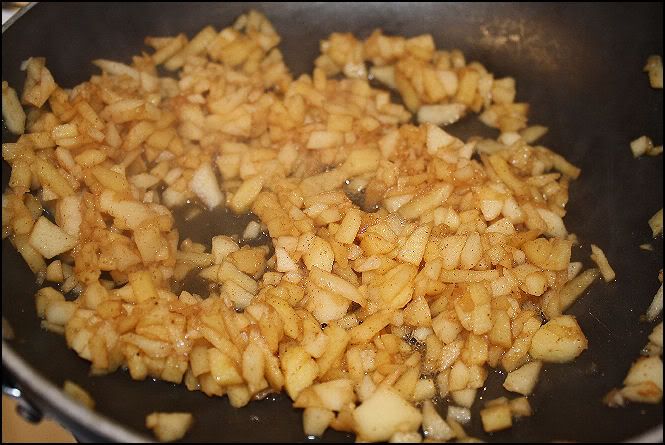
We're gonna start with the filling. Take your cored, peeled apples and chop them finely. (I made my husband do this part. I hate chopping and peeling stuff.) Toss 'em in a skillet and add your spices, juice, and sugar. You want them to reduce a bit, so don't cover. Cook over medium heat, stirring occasionally. When they're al dente, tender but not mushy, and there is no fluid left in the pan, remove from heat. It should take about 15 minutes. If you like a sweeter filling, you can always add a drizzle of honey.
Now for the pies!
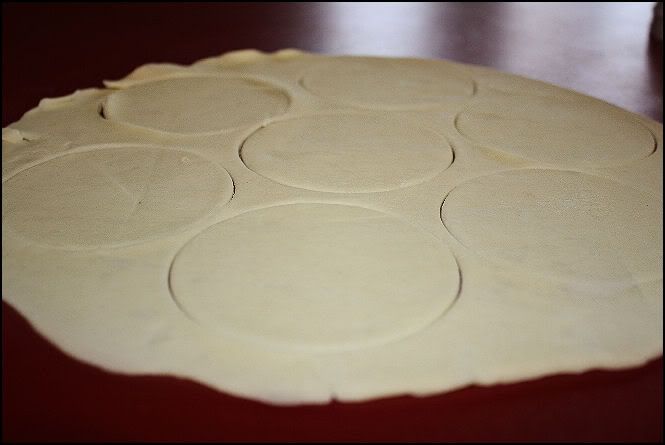
On a clean workspace, roll out your dough. Even if using pre-rolled dough, go over it with a rolling pin to make sure it's even and and uniform. If making your own dough, you want it just a millimeter or two thick. 1/8" at most.
With a 2" cutter, cut rounds in your dough. Re-roll the scraps if you like. I bagged mine up and froze for future projects.
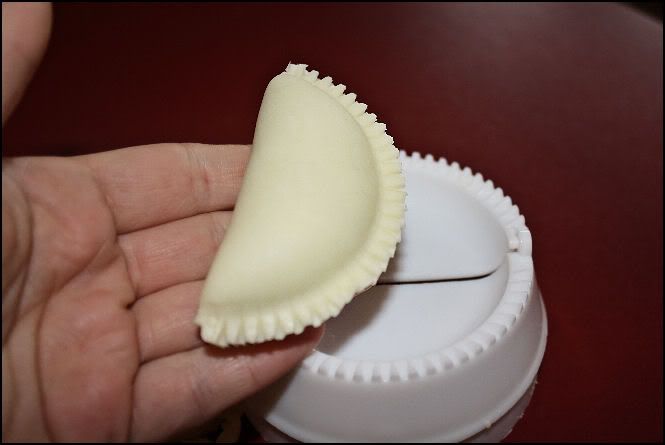
Now, I have a handy-dandy little tool I use for making empanadas. It's actually a sandwich press, but I'm still baffled on why anyone would want pie-shaped sandwiches, so instead, I use it to make...guess? Pies. Yeah. I bought this little gizmo for $10 as an impulse-buy at some cheesy holiday expo a few years back. I'm sort of addicted to kitchen gadgets. It's a sickness.
When someone hears me say, "Empanada press", it sounds so fancy. But really, it's a little piece of plastic with a hinge. You can buy one here. Or you can use a fork.
So anyway, you have all these little rounds of dough. Now what?
Put each round into your press, or if working without a press, just fold it loosely in half.
Spoon about a tablespoon of apple filling into each pie. If you're using a press, you'll have a little well. If not, just spoon it onto half your dough, leaving space around the edges to close.

Now, brush the inside edge of the dough with a tiny bit of beaten egg and fold the dough over. Use the press to seal the edge, or use a form to crimp the edges. You want to ensure a nice solid seal so no filling leaks out and spoils your fry oil. Remove excess crust.

I have purple glitter nail polish! It smells like grapes!
"Fry oil?" you say? Yep. Fry oil. I'm not generally a fan of deep frying, but these are worth it. I've tried baking them. It's just not the same. And believe me, the end result is worth it.
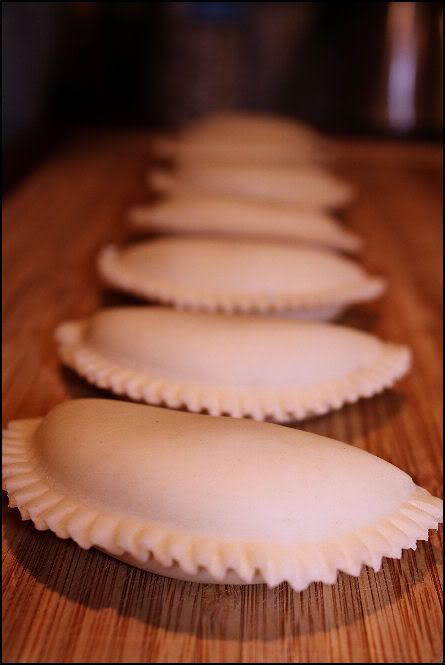
You'll want to prepare your oil when all the empanadas are finished. It'll do them good to sit out and dry for a little while. Gives them a flakier crust, I find.
Anyway, I use a standard soup pot and fill it with about 2 quarts of canola oil. You don't really need a whole lot. You could probably use even less if you wanted. Just enough to totally submerge a pie.
Watch it closely--hot oil isn't something to leave unattended. Better women than myself have lost entire houses over kitchen fires, and it is a written-in-stone kitchen law not to ever, ever, EVER leave oil on a stove if you're not in the room. Only a total idiot would leave hot oil boiling when it wasn't being watched.
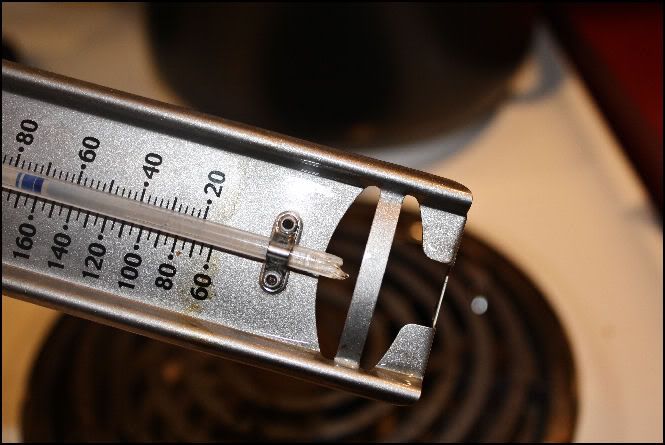
So of course, I put my oil on the hot stove, dunked my thermometer, and then immediately left the room. I went down to the rec room to give the baby's bottle to my husband and help him fiddle with some doohickey or another. The baby needed to eat, it wasn't my fault! (Alright, it was. A little. Or entirely. Whatev.)
When I came back, I realized my mistake and freaked for a moment when I smelled burning, but as it turned out, my oil had just overheated and smoked, murdering my thermometer. This is what happens when you break the laws, folks. You end up with broken kitchen tools and a stinky house. Or death in an oily fireball. Thank God I lucked out with the former. Don't risk it. This has been a public service announcement.
Anyway, so I tossed that pot of oil and had to run out and buy more.
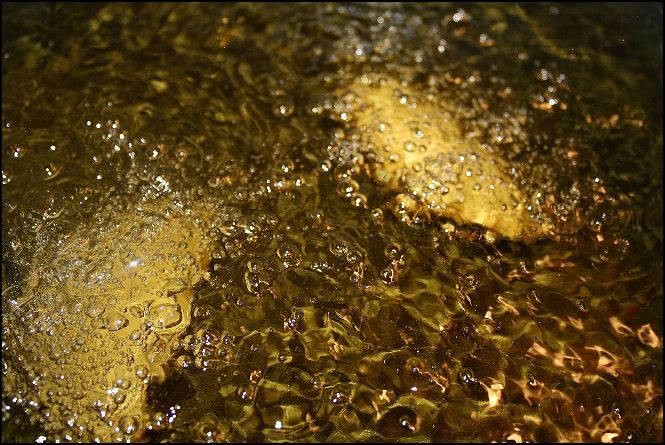
Thankfully, I got THAT oil heated properly. (375 degrees. If you don't have a thermometer, there's an easy way to tell if it's ready. Drop a piece of dough into it. The oil should bubble rapidly, and the dough should start to fry immediately, quickly floating to the top. If the dough sinks and only bubbles lightly, the oil is too cool. It it splatters and pops, it's too hot.)
I tossed in my pies, three at a time. Of course, I didn't actually "toss" them in. I used a slotted metal spoon to lower them carefully into the hot oil. I also used that spoon to turn them occasionally and remove them onto a paper-towel lined cooling rack. It should only take about a minute to fry each batch of pies. They'll be golden brown and flaky.
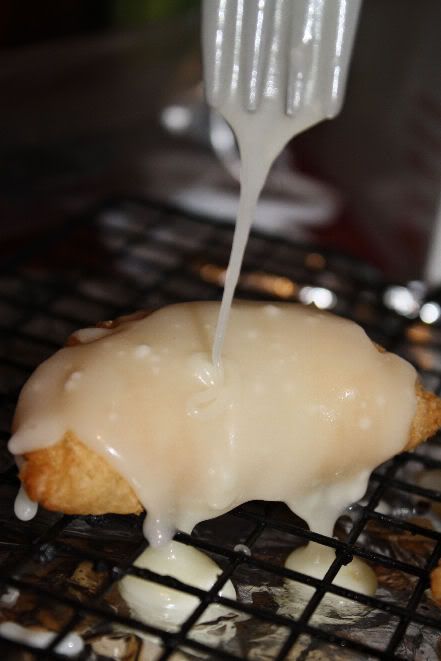
When well cooled, you can top them however you like. Roll in sugar, brush with honey, or glaze.
I glazed mine, using a simple confectioner's glaze:
- 1 cup milk
- 2 cups powdered sugar
- 1 teaspoon vanilla
Mix everything and beat well with a whisk.
Drizzle onto pies with a fork.
Enjoy, and happy eating! May your kitchen adventures not end in disaster.
(P.S. When going through my final edit, I found bizarre sentence fragments and misplaced words in damn near every paragraph. I think I need to put down the Nyquil colada and go lay down)
No comments:
Post a Comment
Send me a comment! I love to hear what you have to say!